Honeywell 51153818-202 Node Address Jumper Troubleshooting and Fault Diagnosis Guide
Time:2026-08-31 Browse: 15
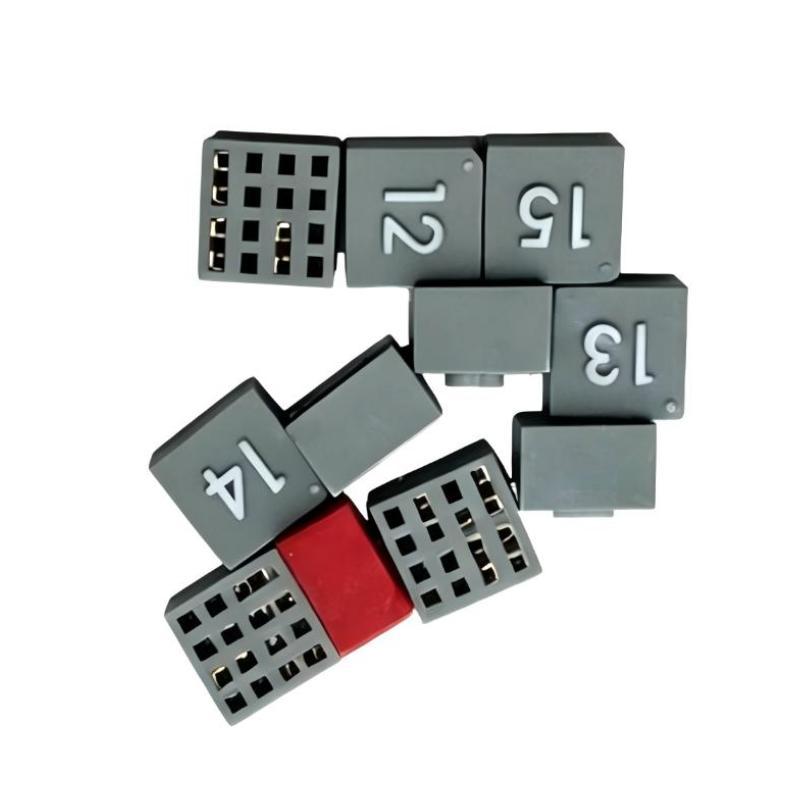
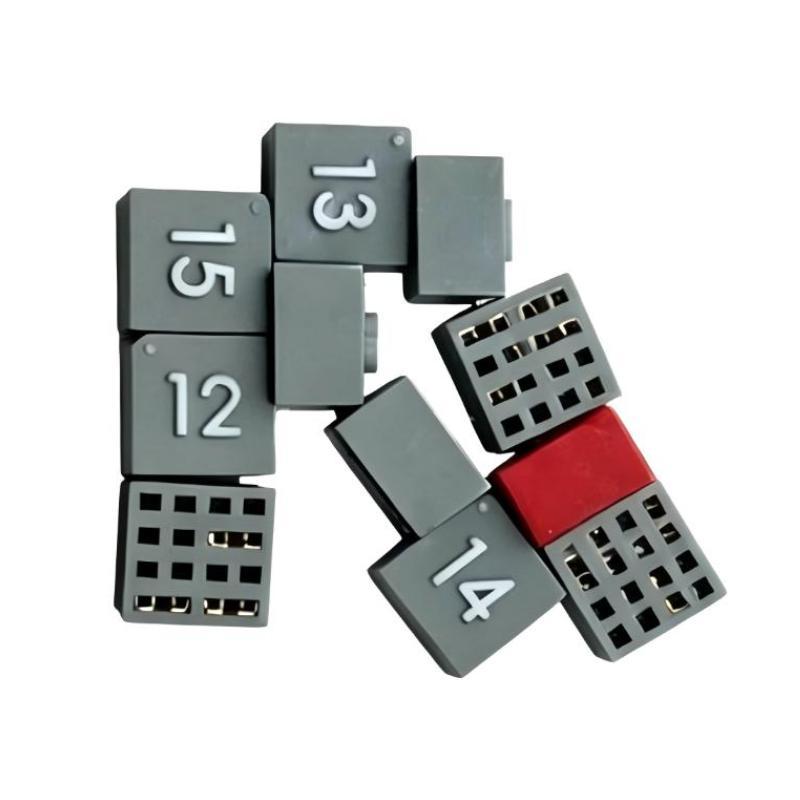
Honeywell 51153818-202 troubleshooting should begin with address verification when an IOTA is not identified correctly by the control system. The jumper kit contains node address jumpers numbered 11 through 20, and an incorrect individual jumper can cause an address mismatch even when the associated I/O hardware and communication path are operating normally.
Honeywell 51153818-202 Node Address Fault Symptoms
A problem involving the 51153818-202 may appear as an I/O node that is missing, incorrectly identified, or associated with the wrong I/O location.
Typical symptoms include:
The expected IOTA is not recognized.
The control system reports an unexpected node.
I/O information appears under the wrong configured location.
Commissioning cannot be completed even though the module is powered.
A replacement I/O module appears healthy but remains incorrectly associated with the system configuration.
These symptoms should not immediately be interpreted as a hardware failure.
Honeywell 51153818-202 Fault Diagnosis Logic
The first diagnostic decision is simple: determine whether the physical jumper address agrees with the engineering address.
For example:
Physical jumper: 18
Configured IOTA address: 16
This is an address configuration fault, not necessarily a failed RUSIO-3224 or RUSLS-3224 processor.
The 51153818-202 kit covers addresses 11–20, while adjacent Honeywell kits cover other address ranges. Therefore, the kit number alone is not enough to confirm correct installation; the individual two-digit jumper marking must also be checked.
Honeywell 51153818-202 Troubleshooting Sequence
A useful troubleshooting approach is to work from the physical component toward the system configuration.
First, inspect the jumper marking. Make sure the number is readable and corresponds to the intended IOTA.
Next, compare the physical address with the cabinet drawing, I/O schedule, and System Configuration. If the documents disagree, resolve the engineering configuration before changing hardware.
Then inspect the jumper installation itself. Because the component is small, incomplete seating or mechanical damage should not be overlooked.
Finally, return to the control system and check whether the expected node is now correctly identified.
This diagnostic sequence avoids unnecessarily replacing a healthy module when the actual fault is a simple address mismatch.
Honeywell 51153818-202 Node Address Jumper Fault Case
Consider a commissioning case where an IOTA is physically installed and its associated processor is powered normally, but the expected I/O node is not appearing at the configured location.
The initial temptation may be to replace the I/O module. However, the diagnostic process starts with the node identity.
The installed jumper is found to be marked 12, while the engineering configuration specifies address 18. Both numbers are within the 51153818-202 range, which makes the mistake easy to overlook.
The corrective action is to install the jumper marked 18 and repeat the System Configuration validation. If the node is subsequently identified correctly, the evidence points to an address configuration error rather than a processor or communication hardware failure.
This type of fault is why physical inspection should precede component replacement.
Honeywell 51153818-202 Repair and Recovery Checks
The 51153818-202 is a configuration jumper rather than a repairable electronic circuit. If the jumper is damaged, missing, or incorrectly numbered, replacement is normally more appropriate than attempting component-level repair.
During recovery, verify:
Correct jumper number.
Correct IOTA location.
Secure physical installation.
Agreement with the engineering configuration.
Correct node identification after commissioning.
Normal operation of the associated I/O channels.
A damaged or unreadable jumper should not be treated as acceptable simply because it physically fits the IOTA. Clear address identification is essential for maintenance and future Fault Diagnosis.
Honeywell 51153818-202 Module Troubleshooting and Signal Analysis
Unlike an analog input module or accelerometer, the 51153818-202 does not provide a process signal such as voltage, current, or vibration level that can be measured with a multimeter.
Therefore, signal analysis is usually not the correct first-line troubleshooting method.
Instead, use configuration evidence:
Physical address → IOTA → associated module → controller configuration → expected I/O location.
If this chain is broken at the jumper level, downstream communication diagnostics may be misleading.
For field engineers, this is an important distinction: not every I/O-related fault should be diagnosed by measuring electrical signals. Some faults originate from identification and configuration.
Honeywell 51153818-202 Troubleshooting After Replacement
When replacing a jumper during maintenance, record the original address before removing it. This is especially useful when several IOTAs are installed close together.
After replacement, do not assume that successful physical installation means the fault has been cleared. The control system should be checked to confirm that the expected node has returned to the correct configured location.
If the node remains unavailable after the address has been verified, continue the Troubleshooting process toward the IOTA, associated RUSIO-3224 or RUSLS-3224 hardware, communication connections, and controller configuration.
This prevents the jumper from becoming a convenient but incorrect explanation for a deeper system fault.
Honeywell 51153818-202 Troubleshooting Long-Tail Keywords
Useful long-tail search terms include Honeywell 51153818-202 troubleshooting, Honeywell 51153818-202 fault diagnosis, 51153818-202 node address fault, Honeywell node address jumper troubleshooting, 51153818-202 IOTA configuration problem, Honeywell RUSIO-3224 address troubleshooting, and 51153818-202 replacement procedure.
The key troubleshooting principle is straightforward: verify the physical node address against the System Configuration before replacing the PLC Controller, I/O Module, processor, or communication hardware.